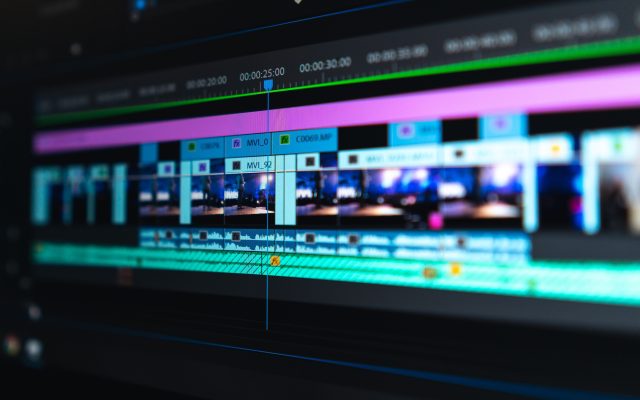
Starting your editing journey can feel overwhelming, but the right software makes it much easier. Here are the top picks and some practical tips.
Top Beginner-Friendly Editors
- CapCut: Simple, fast, and packed with templates, effects, and auto-captions. It’s ideal for short-form content like Reels and Shorts.
- DaVinci Resolve (Free): A professional-grade editor with powerful color grading. The learning curve is steeper, but you’ll never outgrow it.
- Adobe Premiere Pro: The industry standard for most commercial work. It has tons of tutorials and plugins, and it integrates well with After Effects.
- Filmora: A clean, drag-and-drop interface with built-in effects, perfect for quick, polished results.
- iMovie: Free for Mac users and extremely easy to learn for basic projects.
Best Software Used in the Industry
If your goal is to work professionally, it helps to know what studios and agencies actually use:
- Adobe Premiere Pro: The most widely used editor for YouTube, advertising, corporate videos, and broadcast. Most freelance and agency jobs expect Premiere skills.
- DaVinci Resolve: The industry standard for color grading, and now a full editing suite used on films, series, and commercials.
- Avid Media Composer: The long-time choice for Hollywood films and TV productions, especially in large team workflows.
- Final Cut Pro: A favorite among Mac-based editors and independent filmmakers for its speed and smooth performance.
- Adobe After Effects: The go-to tool for motion graphics, VFX, and animated titles, usually paired with Premiere Pro.
Our pick: For most beginners who want a career in editing, Adobe Premiere Pro is the best all-round choice because of its job demand, huge learning resources, and plugin support. Add DaVinci Resolve later for professional color grading.
Tips & Tricks to Edit Like a Pro
- Start with one tool. Master a single editor before experimenting with others.
- Learn keyboard shortcuts. Shortcuts like split, ripple delete, and zoom can cut your editing time in half.
- Organize your footage. Create folders and label clips before importing. A tidy project saves hours later.
- Cut tight. Remove pauses, filler words, and slow moments to keep viewers engaged.
- Use J-cuts and L-cuts. Let audio lead or trail the video for smooth, professional transitions.
- Prioritize audio. Viewers forgive average visuals but not bad sound. Clean your audio and balance music under voice.
- Don’t overuse effects. Simple transitions like cuts and fades usually look better than flashy ones.
- Add subtitles. Most people watch without sound, so captions boost retention and accessibility.
- Use proxies for smooth editing. If your computer lags with 4K or 8K footage, proxy files keep playback fast.
- Export with the right settings. Match resolution and frame rate to your platform, such as 1080p at 30fps for YouTube.
Final Thoughts
The best software is the one you’ll actually use. Start with a free option, practice consistently, and upgrade to industry-standard tools as your projects demand it. Every great editor started with a first messy timeline.